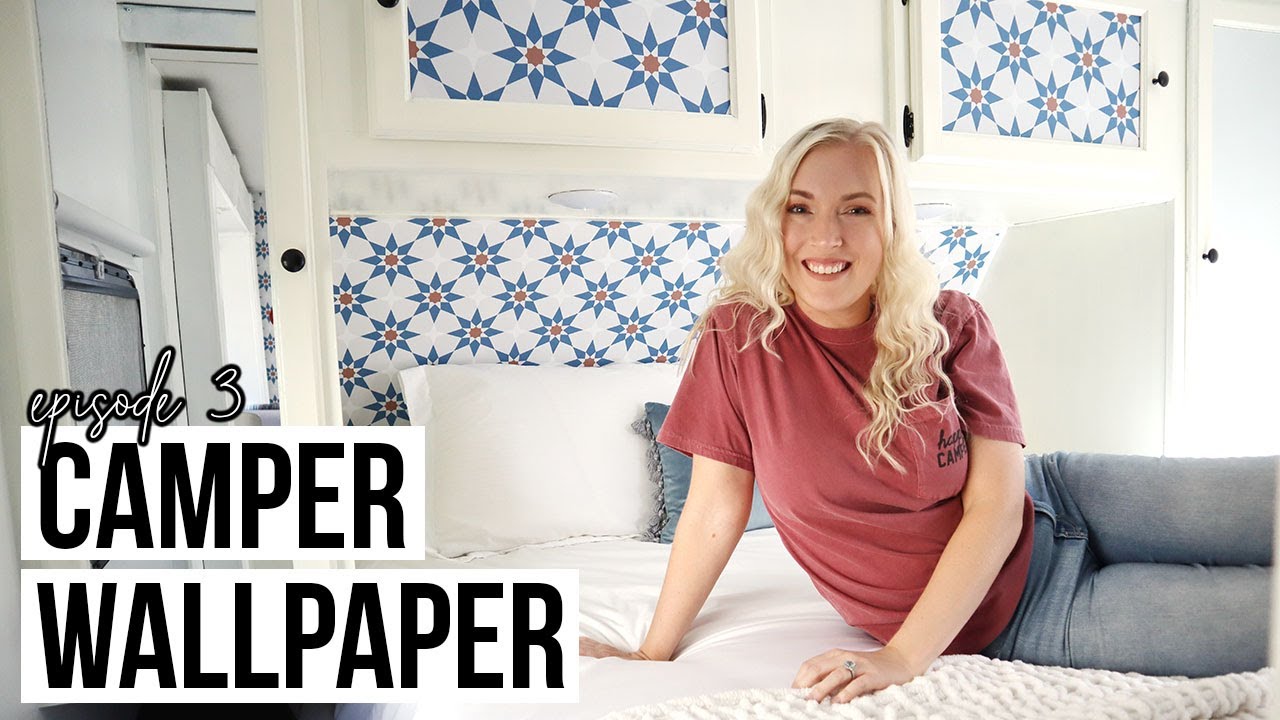
In today’s episode of the camper renovation series, I share an in depth tutorial on how to put peel and stick wallpaper in your camper. I wanted to add some accent walls to a few spots in the camper and thought wallpaper might be a nice easy fix!
How To:
Like with everything in the camper so far, you need to make sure your walls are clean and dry before you start. You also are going to want to make sure that your surface is nice and smooth. Do any sanding or filling before you start.
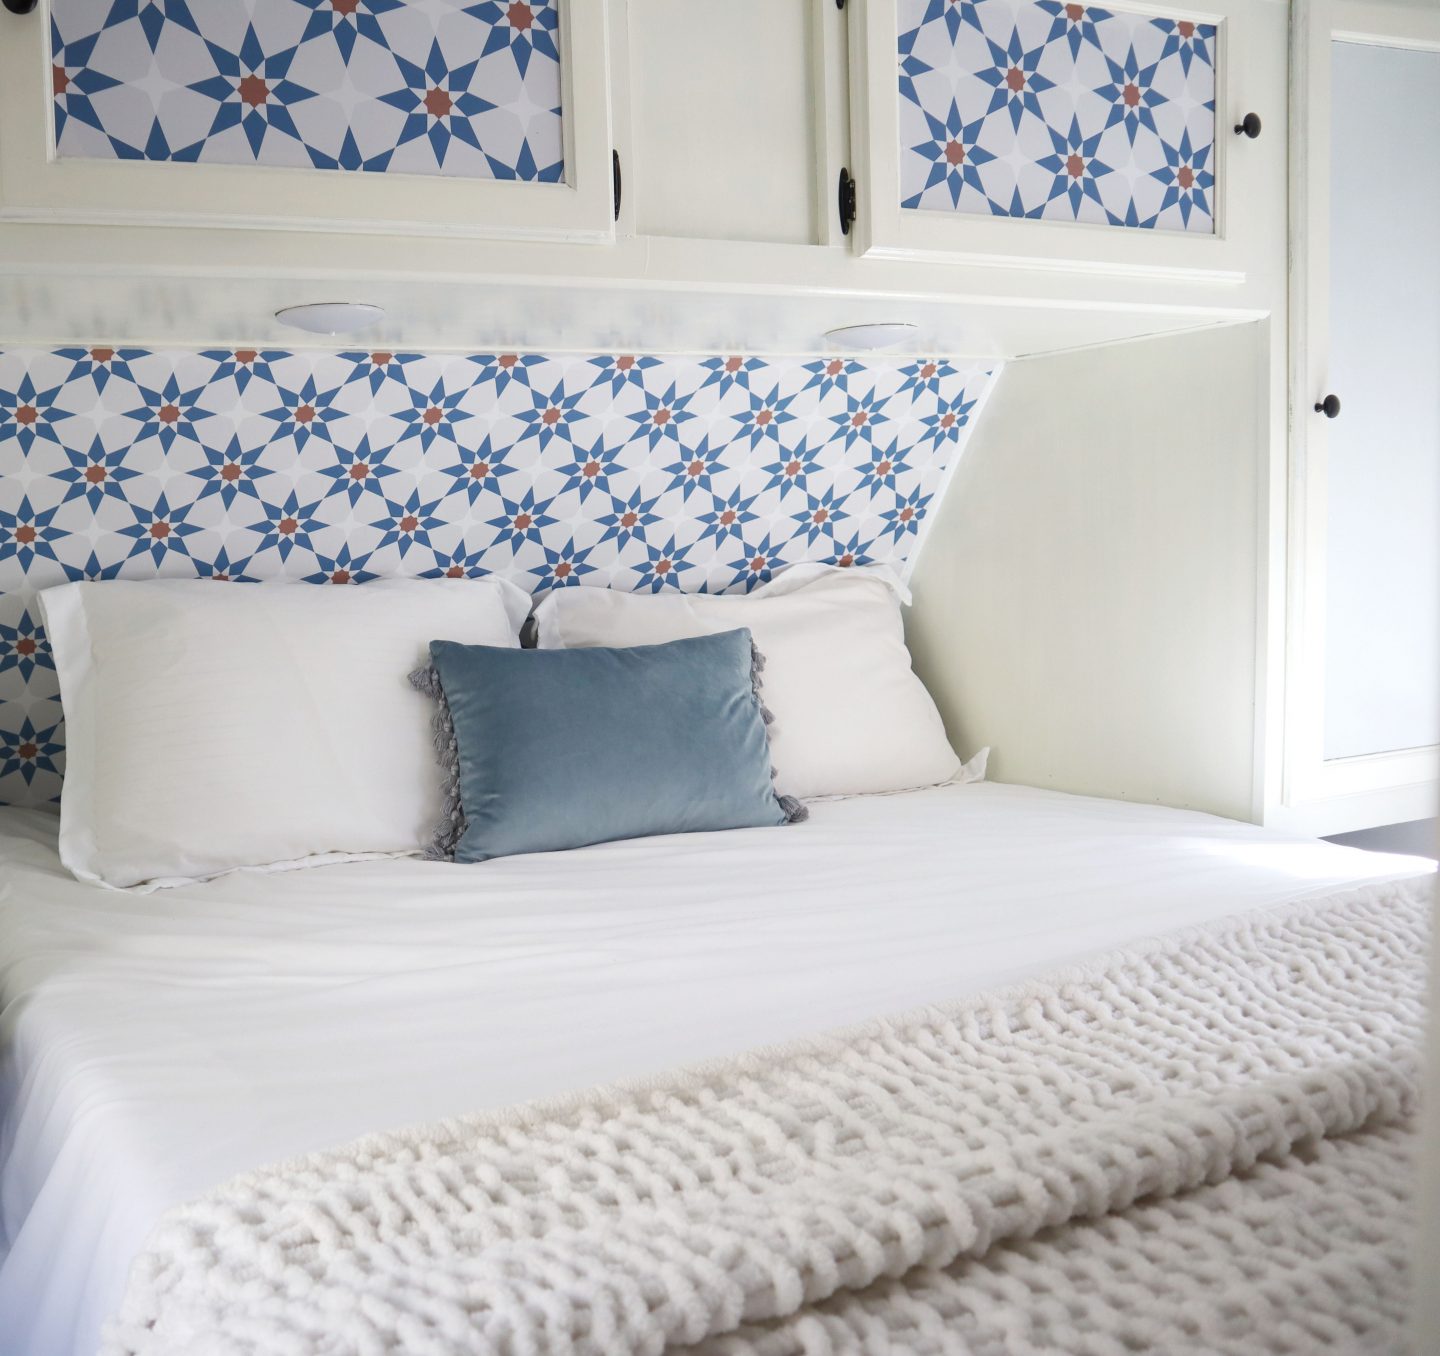
Measure your walls and cut the length of the panels BEFORE you start, this will save you time when you are working in such a small space. Once you have everything cut, dry fit the panels to make sure they are the right size. I like to start by peeling off just a bit of the top portion sticking that down and then moving further down. Peel, smooth, peel smooth. The great thing about peel and stick wallpaper is that you can pull the piece back up at any time to get rid of air bubbles or creases. Once you have the first panel done, you will need to match the pattern of the second panel to the first. This can be tricky, again I would dry fit first and the peel of the backing. Be aware, if you have any sort of pattern, chances are it will not match up 100%. Before you freak out, just take a step back and look at the big picture. Chances are from far away you wont be bale to tell!
Now because reading all of that can be kind of boring, I made a video documenting my process. I have done peel and stick before in my guest bedroom, so I did go into this with some experience. But if you want to know how to put peel and stick wallpaper in your camper, here’s the video:
If you are curious about the beginning of the camper renovation, I suggest you start at the beginning! In Episode 1 I go over everything that we did to our Keystone Bullet camper.